Docker & Docker Compose
Comprehensive introduction to development with Docker and Docker Compose
Every day it is more common to find applications inside containers. Docker is becoming the standard to develop, build and share containers.
According to their website
Docker is an open platform for developing, shipping, and running applications. Docker enables you to separate your applications from your infrastructure so you can deliver software quickly. With Docker, you can manage your infrastructure in the same ways you manage your applications. By taking advantage of Docker’s methodologies for shipping, testing, and deploying code quickly, you can significantly reduce the delay between writing code and running it in production.
Docker is a great tool in multiple cases, like when you want to package an application and show it to someone, or you want to do software installation tests without having to install software on your own operating system.
With Docker Compose we can go a step further, it gives us a lot of options to develop on containers, as well as a minimum of orchestration between them.
If you've never worked with Docker, I recommend that you take a look at their website. They have very good and complete tutorials for all levels. Specifically, this may seem simple but it helps a lot to understand the key concepts of container application development.
We often find an infinity of tutorials and how-to's that show how to do this work of orchestration, and they do many unnecessary things, and aren't automated between independent containers.
This results in unstable development systems, dependent on external scripts that instead of helping, make the task difficult. And this is just what Docker Compose wants to avoid.
There are several approaches for which Docker Compose can be a good use case. I'm going to focus on two of them; Development environments and Single host deployments.
The goal in this post is to explain how to mount a Node.js environment with Docker Compose and be able to write two different Compose files, one that serves us to develop locally and another, with an additional container, that will enable us to be able to deploy our application to any server on the internet.
The application Node.js that we will dockerize, is one of the example applications that appear in the official page of Socket.IO, a chat with websockets.
Our project will have the following structure:
⇒  ls
Dockerfile
README.md
chat_site.conf
docker-compose-prod.yml
docker-compose.yml
index.html
index.js
package.json
We'll start with the Node.js part consisting of three files; index.js, index.html and package.json. What the Node files do, its explained in Socket.IO much better than I could do, since I am no expert in Java Script, but it's enough to know that they have the logic of the chat. The file that interests us is package.json, since it contains the necessary dependencies to be able to execute the application.
{
  "name": "socket-chat-example",
  "version": "0.0.1",
  "description": "my first socket.io app",
  "dependencies": {
    "express": "4.10.2",
    "socket.io": "1.2.0"
  }
}
In order to be able to dockerize our application, the only thing we have to do is to define a Dockerfile that 'holds' all the necessary software to work.
A Dockerfile, is a text file that contains a series of commands to execute in the selected image, as it is executed, it is composing our container.
Something like this:
FROM node:6.9
RUN mkdir /code
WORKDIR /code
ADD . /code/
RUN npm install
With 'FROM node:6.9' we are telling it the image that has to start to create the container, the 'RUN' command will execute in the container any command we tell it, in this case create a directory. 'WORKDIR' positions the directory indicated, 'ADD' copies the project to the destination directory in the container.
It is important to pay attention to the last line ('RUN npm install') since it is the one that installs the package needed for the application.
With this we already have a fully functional container with Node.js installed and running in it. It's that easy!
The next step is to define a Docker Compose file (docker-compose.yml) that looks like this:
version: '2'
services:
  node:
    build: .
    volumes:
      - .:/code
      - /code/node_modules
    command: nodejs index.js
    ports:
      - "3000:3000"
A Docker Compose file consists of defining your application with services. In this case we only define one service, the container Node.js.
We tell it to search the Dockerfile with 'build .', and map the necessary volumes to the container. We define 'command' to say to the container what command to execute when the Dockerfile script finishes. With 'ports' we open the necessary ports for Node.js (external port:internal port)
Great. We can now start the dockerize application Node.js with the following command:
$ docker-compose up
If this is the first time you run this command, Docker will download everything you need, in a few seconds you should see something similar to this:
Building node
Step 1 : FROM node:6.9
6.9: Pulling from library/node
5040bd298390: Pull complete
fce5728aad85: Pull complete
76610ec20bf5: Pull complete
52f3db4b5710: Pull complete
7e5867712a67: Pull complete
563b602246dd: Pull complete
043696f38236: Pull complete
Digest: sha256:40bc08204b9beae97e28c3fc669a3fa1868dea629fd02ec8ec2c1b706cb1f350
Status: Downloaded newer image for node:6.9
 ---> 88717adf5e8a
Step 2 : RUN mkdir /code
 ---> Running in d60a15635dd5
 ---> a3fba1fcea4a
Removing intermediate container d60a15635dd5
Step 3 : WORKDIR /code
 ---> Running in 83d57387b055
 ---> 1dff2466cec9
Removing intermediate container 83d57387b055
Step 4 : ADD . /code/
 ---> 370dbc97eb00
Removing intermediate container 1ab92c89c59c
Step 5 : RUN npm install
 ---> Running in 78cb9ac2f749
...
Output of npm install ...
...
 ---> 703b87fedc3a
Removing intermediate container 78cb9ac2f749
Successfully built 703b87fedc3a
Creating chatnode_node_1
Attaching to chatnode_node_1
node_1   | listening on *:3000
Congratulations, you now have your own completely dockerized Node.js development environment running! :). I highly recommend
that you explore the various Docker Compose options for yourself, but for now you just need to know that if you press
'Ctrl-C', the Docker Compose run will stop, although to be sure you can always do: $ docker-compose stop.
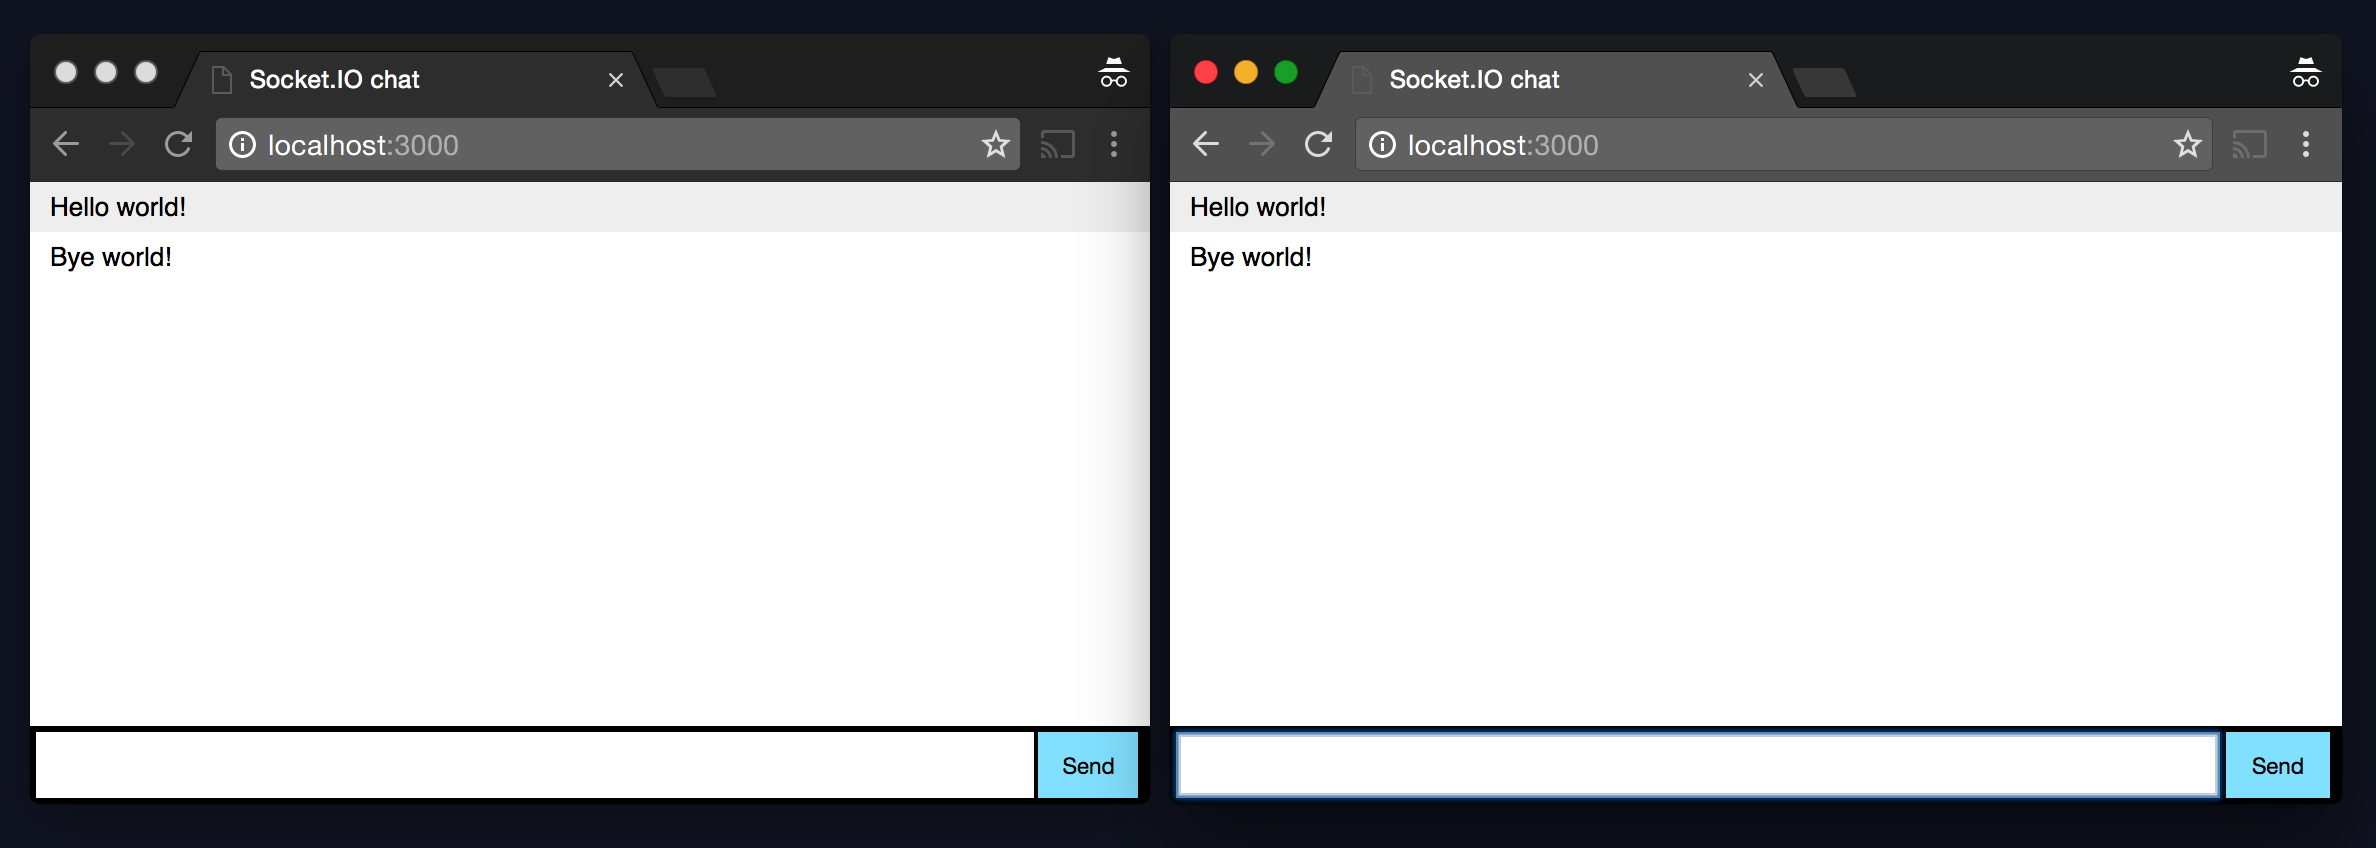
To verify that the chat works you can open a browser pointing to http://localhost:3000 and send some messages.
Well, now comes the interesting part of Docker Compose, we can take as base our file docker-compose.yml and generate a similar one, docker-compose-prod.yml in which we will add one more service. This will allow us to mount a web server (Nginx), and be able to distribute our dockerized application Node.js to any internet server.
version: '2'
services:

  nginx:
    image: nginx:latest
    volumes:
      - ./chat_site.conf:/etc/nginx/conf.d/site.conf
    ports:
      - "91:80"

    links:
      - node

  node:
    build: .
    volumes:
      - .:/code
      - /code/node_modules
    command: nodejs index.js
    ports:
      - "3000:3000"
As you can see, we've added a new service to the file, the nginx service, this allows us to expose an HTTP interface and be able to do reverse-proxy instead of exposing Node.js itself.
The only volume that we need to map in this case is a file with the nginx configuration, let's take a look:
server {
    listen 80;

    server_name node.example;

    location / {
        proxy_pass http://node:3000;
        proxy_http_version 1.1;
        proxy_set_header Upgrade $http_upgrade;
        proxy_set_header Connection 'upgrade';
        proxy_set_header Host $host;
        proxy_cache_bypass $http_upgrade;
    }
}
It is a classic reverse-proxy file of nginx, the only thing to note is that the variable 'proxy_pass' points to 'node' which is the name of the service that we have previously defined in the Docker Compose.
We continue with the Docker Compose, exposing the port 80 both internally and externally. Remember that exposing HTTP instead of HTTPS is insecure and you should not do so, but this is an example and there is nothing wrong with it.
Last, but not least, we have 'links' which indicates which containers can communicate with each other. As we are doing reverse-proxy from Nginx to Node.js, we indicate that it has to have a link to it.
And this is it, just deploy it on any server running $ docker-compose -f docker-compose-prod.yml up and Docker will do
the rest :)
It is important to clarify that the use of Docker Compose in production environments is quite small and almost always goes towards solutions like Docker Swarm or more complex like Kubernetes, although personally I consider Docker Compose as a very good entry point if what you intended is to practice generating containers, configure them and make a small orchestration, so I hope it helps and someone can take advantage of it.
You can take a look at the project on GitHub and do your own tests.
Regards.